
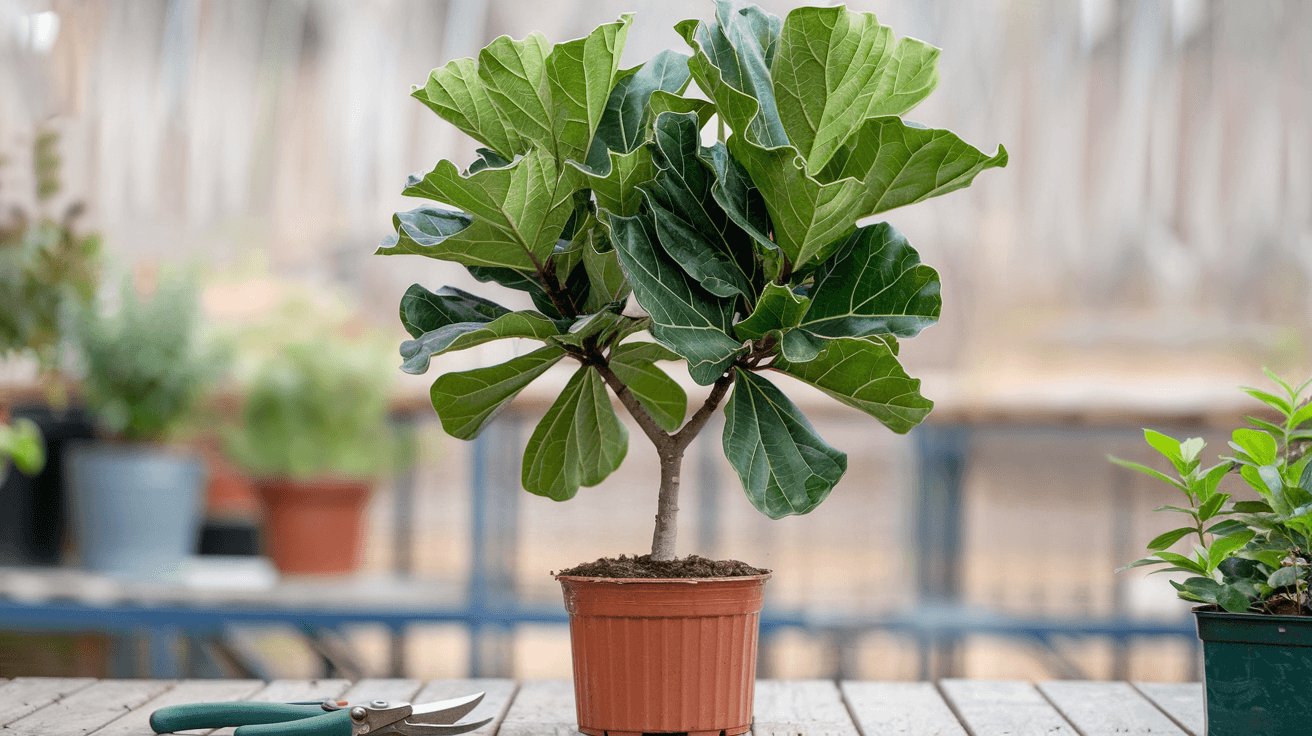
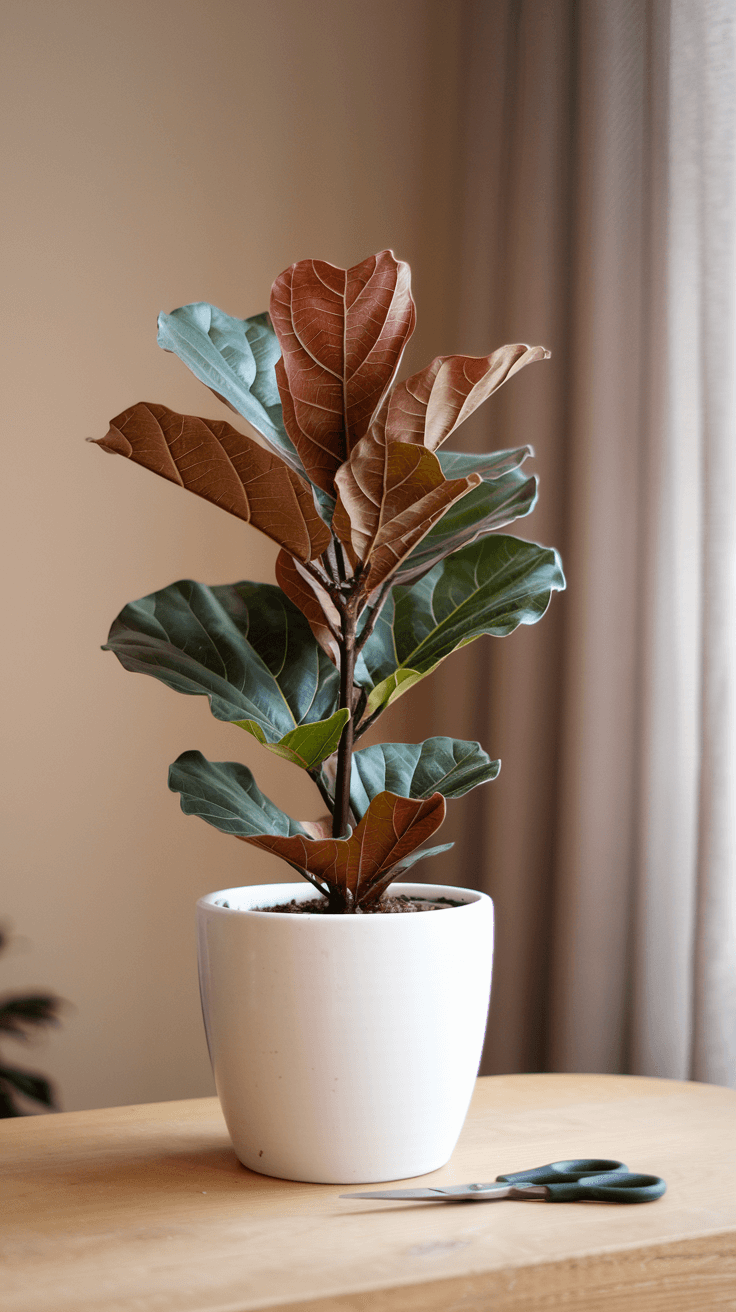
That gangly fiddle leaf fig with all its growth shooting straight up from a single bare stem is a common sight in homes across the country. Owners watch their plant grow taller and taller, wondering when it will start filling out or whether they’re stuck with this lopsided tower forever.
The secret to transforming a leggy fiddle into a full, branching showpiece is strategic pruning—a technique that intimidates many plant owners but is surprisingly straightforward once you understand the principles.
I’ve pruned dozens of fiddles over the years, watching them respond by producing multiple new branches exactly where I wanted them, creating that bushy, tree-like structure that makes these plants so striking.
The hesitation is understandable—cutting into a plant you’ve kept alive for months or years feels risky, and making the wrong cut can result in damage that takes months to correct. However, fiddles are remarkably resilient to proper pruning and actually benefit from the process when done correctly and at the right time.
This comprehensive guide walks through exactly when to prune your fiddle, which tools you need, where to make cuts for maximum branching, step-by-step execution that minimizes risk, and what to expect during the recovery period as your plant transforms from its current shape into the specimen you’ve been envisioning.
When and Why to Prune Your Fiddle
The ideal pruning window is early spring, from March through May, when fiddles enter their active growing season. Pruning during this period allows the plant to immediately channel energy into new growth at cut sites, typically producing 2-4 new branches from dormant buds near each cut.
Pruning outside this window still works but recovery takes longer, and winter pruning can leave your fiddle with open wounds through the dormant period when healing is slowest.
The primary reason to prune is encouraging branching and bushier growth. Fiddles exhibit strong apical dominance—the tendency to grow vertically from the top growing point while suppressing lateral branching.
When you remove the terminal bud by pruning, you eliminate this dominance, signaling dormant buds below the cut to activate. This is how you transform a single-stem plant into a multi-branched tree with fullness at multiple heights.
Pruning also serves corrective purposes. Removing dead, diseased, or severely damaged leaves and branches prevents problems from spreading while directing energy toward healthy growth.
If your fiddle has developed an unbalanced shape—all growth on one side, for example—strategic pruning rebalances the structure by removing excessive growth and encouraging development where you want it.
Size control represents another valid reason for pruning. When your fiddle reaches ceiling height or becomes too large for its space, cutting it back maintains manageable proportions.
Height reduction pruning involves cutting the main stem to your desired height, after which the plant branches below the cut rather than continuing upward growth.
Wait until your fiddle is established and healthy before pruning. Young plants under 2 feet tall or specimens that have been recently repotted, stressed, or struggling should be allowed to stabilize before pruning.
The plant needs energy reserves to produce new growth after pruning, which stressed or immature plants lack.
Pro tip: If your fiddle already has some natural branching, identify which branches you want to enhance and prune just above those points. Cutting above existing branches redirects even more energy to those structures, accelerating their development.
Essential Tools and Preparation
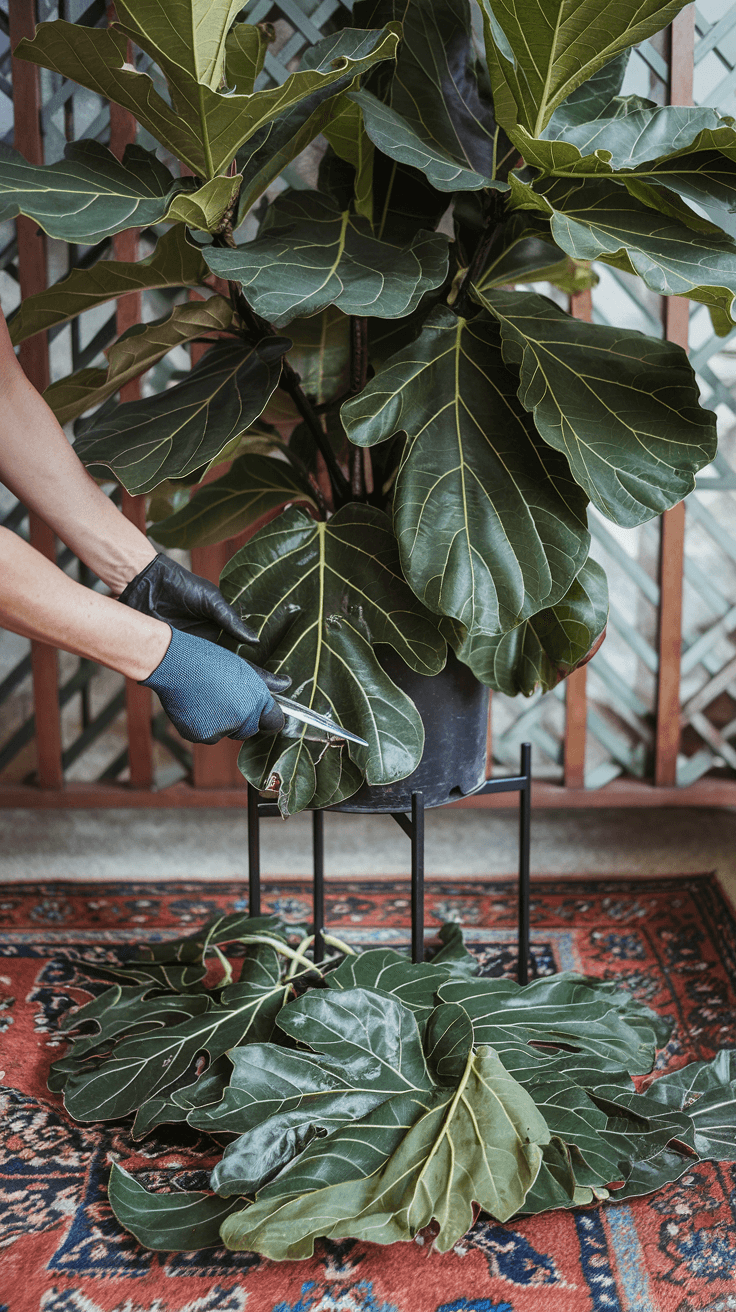
Sharp, clean pruning shears are non-negotiable for proper pruning. Bypass pruners work best for stems up to half an inch in diameter, creating clean cuts that heal quickly. Dull blades crush tissue rather than cutting cleanly, creating ragged wounds that take longer to heal and are more susceptible to infection.
For thicker trunks or branches, a sharp pruning saw makes the job easier while maintaining clean cuts.
Sterilization prevents spreading diseases from one cut to another or introducing pathogens to fresh wounds. I sterilize my tools before beginning and between each cut using rubbing alcohol or a 10% bleach solution.
Wipe the blades thoroughly with your sterilizing agent, let them air dry briefly, then proceed with cutting. This simple step prevents countless problems that can develop from contaminated tools.
Gather additional materials before starting: paper towels or clean rags for cleaning up sap, markers or tape for marking intended cut locations, and something to catch falling leaves or debris if working indoors.
Having everything ready prevents mid-process scrambling that can lead to mistakes or contamination.
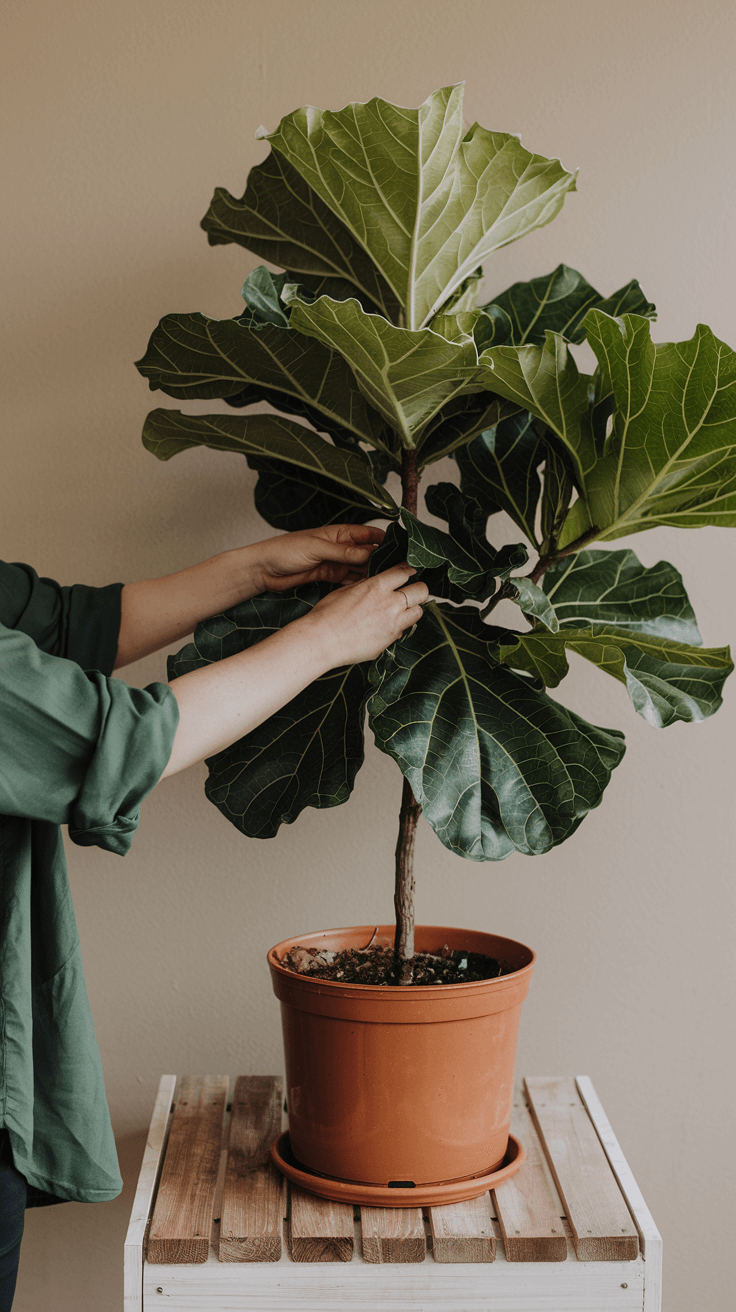
Identify your cutting locations before making any cuts. Study your fiddle’s structure and mark where you want to prune using tape or chalk. The general rule is cutting just above a node—the slight swelling on the stem where leaves attach or have previously attached.
New growth emerges from dormant buds at these nodes. Cutting between nodes leaves a bare stem section above the highest node that will eventually die back, looking unsightly.
Plan for the milky sap that flows from fresh cuts on fiddles. This latex sap is normal and harmless to the plant but can be messy and sticky. It seals the wound naturally, so you don’t need to apply anything to cut surfaces—no wound sealant or wax required.
Simply wipe away excess sap with a damp cloth or paper towel.
Expert insight: Make your marks slightly higher than you think necessary—about a quarter inch above the node. You can always go back and trim slightly more, but you can’t undo a cut that’s too low. This buffer also accounts for the slight dieback that sometimes occurs at cut edges as the wound heals.
The Step-by-Step Pruning Process
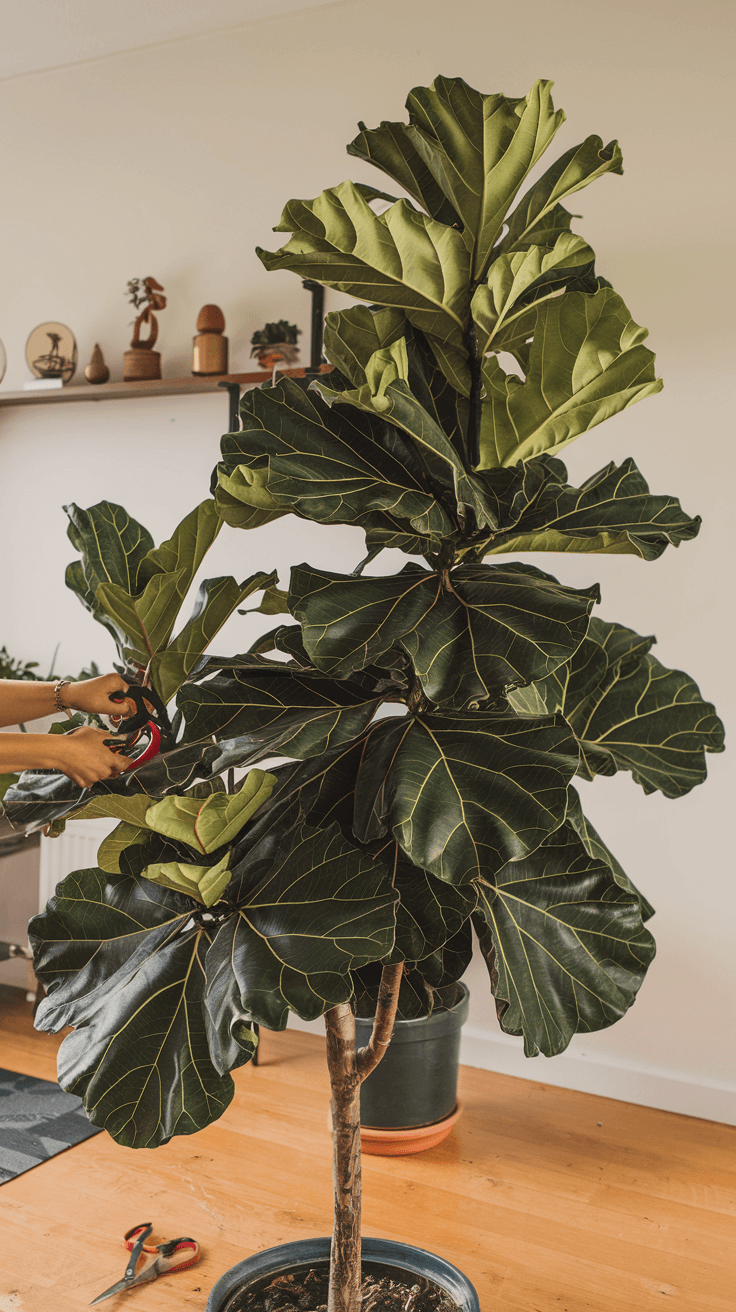
Begin with the easiest cuts to build confidence—removing any dead, damaged, or diseased leaves and small branches. These cuts improve overall health and let you practice technique before tackling major structural pruning.
Cut as close to the main stem as possible without damaging it, using clean, decisive cuts rather than sawing back and forth.
For height reduction, measure and mark your desired cutting point on the main stem, ensuring it’s at least a quarter inch above a node or existing branch. Support the upper portion that will be removed with one hand to prevent tearing as you complete the cut.
Make your cut at a slight downward angle rather than perfectly horizontal—this prevents water from pooling on the cut surface, which could lead to rot.
The actual cutting motion should be smooth and deliberate. Position your pruning shears perpendicular to the stem with the blade side toward the plant portion you’re keeping. Squeeze firmly and steadily rather than crushing quickly.
For thicker stems, you may need to reposition and cut from multiple angles, but always aim for a clean final result.
After removing large sections, step back and assess the results before proceeding with additional cuts. The plant will look sparse immediately after major pruning—this is normal. Resist the temptation to make additional cuts that weren’t part of your original plan.
Give yourself time to adjust to the new shape before deciding if more pruning is necessary.
Clean up any sap that has dripped onto remaining leaves, as dried sap is difficult to remove later. Wipe leaves and stem with a damp cloth, being careful not to damage the fresh cuts. The milky sap should stop flowing within minutes as it naturally seals the wound.
If you’re pruning to encourage branching rather than just removing damaged growth, patience becomes critical. Don’t expect immediate branching—new growth typically appears 3-6 weeks after pruning, depending on season and plant health.
During this waiting period, maintain normal care without trying to compensate for the stress with excessive watering or fertilization.
Action step: Take “before” photos from multiple angles before making any cuts. These help you evaluate results as new growth develops and provide documentation of your pruning decisions for future reference.
Post-Pruning Care and Expectations
Water and fertilize normally after pruning, resisting the urge to increase care intensity. Overcompensating with excessive water or fertilizer actually stresses the plant further rather than helping recovery.
The fiddle needs consistent conditions to channel energy toward producing new branches at the pruned sites.
Monitor the cut sites for the first week, watching for signs of infection such as blackening, soft tissue, or foul odor. Healthy cuts callus over within days, forming a protective layer. The white sap hardens into a seal that protects the wound naturally.
If you notice concerning changes, remove any affected tissue by cutting back into healthy growth.

New growth emerges as small green bumps near the cut within 3-6 weeks during active growing season. These develop into distinct growing points, each eventually becoming a new branch. Most pruning cuts produce 2-4 new branches, though this varies based on cutting location and plant vigor.
The new branches will be small initially—tiny unfurling leaves just beginning their development. This is exactly what you want to see.
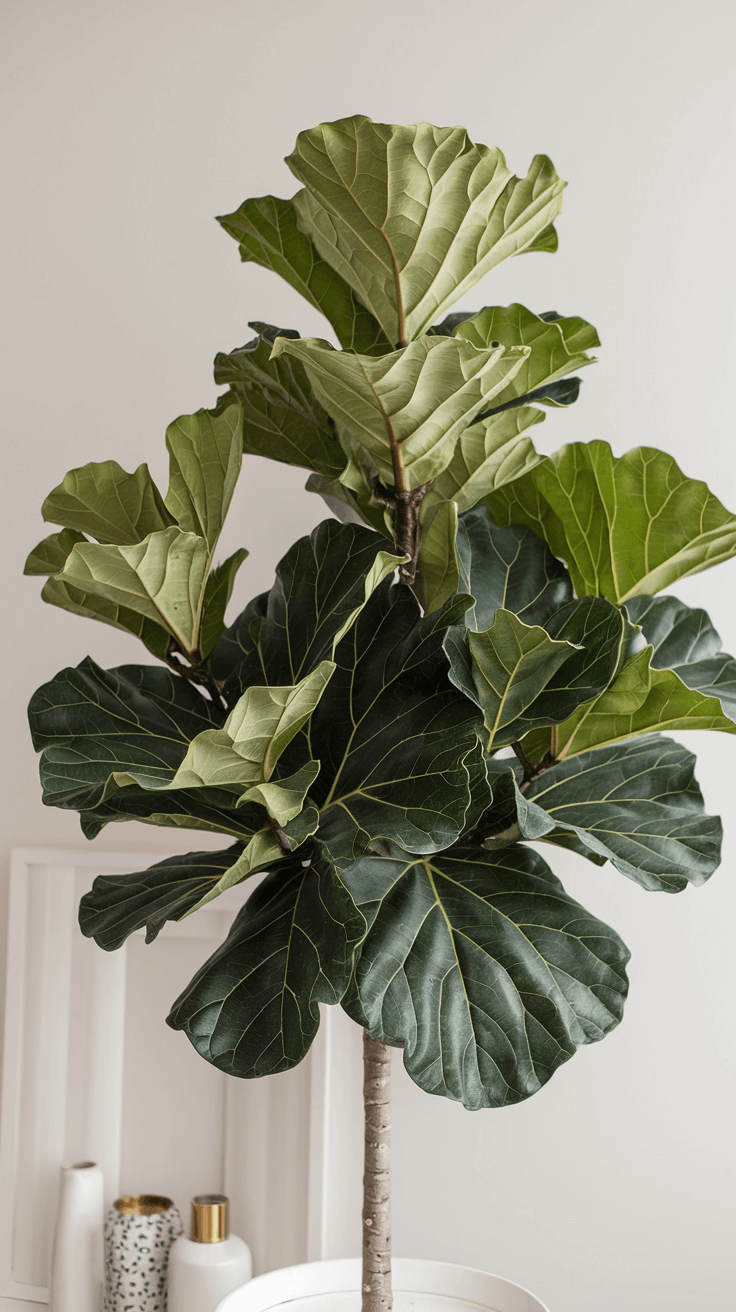
The overall shape transformation takes months to become fully apparent. New branches need the entire growing season to develop, extend, and produce multiple leaves. By the following spring, your once-leggy fiddle will have developed into a branching specimen that bears little resemblance to its pre-pruning shape.
I’ve had fiddles go from single 6-foot stems to full, multi-branched trees with 15+ branches over a single growing season following aggressive spring pruning.
Some lower leaf drop is normal after pruning as the plant reallocates resources toward new growth points. If the plant drops more than 2-3 lower leaves or shows signs of widespread stress, evaluate your care routine—the pruning itself rarely causes problems, but stressed plants struggle to recover properly.
Conclusion: Shaping Your Vision
Pruning fiddle leaf figs represents one of the most impactful interventions you can make, transforming plant structure in ways no amount of other care can achieve. The process requires overcoming natural hesitation about cutting into a living plant you’ve invested time nurturing, but the results justify the temporary anxiety.
Those first cuts feel risky, yet within weeks you’ll see your fiddle responding exactly as hoped—new branches emerging where you created opportunity, filling out the shape you envisioned. Remember that fiddles are surprisingly resilient to proper pruning during appropriate seasons, and the worst outcome from conservative pruning is simply slower branching than you hoped.
The techniques outlined here—timing pruning during active growth periods, using clean tools, making cuts just above nodes, and maintaining normal care during recovery—stack the odds heavily in your favor. Your fiddle has the genetic programming to branch and fill out; pruning simply removes the apical dominance that was suppressing that natural tendency.
Trust the process, execute your cuts with confidence, and then exercise patience as your plant responds on its own timeline. The transformation from leggy single stem to full, branching showpiece is one of the most satisfying progressions in houseplant care, made possible by the courage to make strategic cuts at the right time.